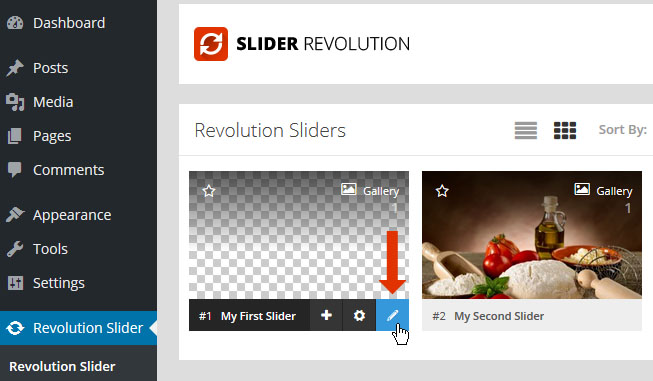
Once you’ve created a slider, click the “Edit Slides” button shown in the screenshot below to started creating and editing individual slides.

Once you’ve created a slider, click the “Edit Slides” button shown in the screenshot below to started creating and editing individual slides.
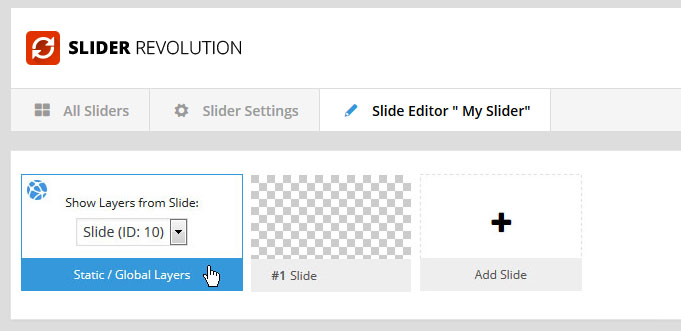
You’ll then be taken to a page where the slides are listed at the top of the screen, and the first slide is automatically selected and ready to be edited.
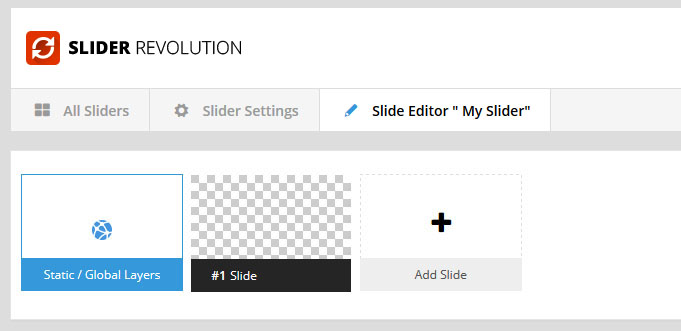
A special editor where you can add global content for the slider. This content is slide independent, and will simply be placed on top of your other slides.
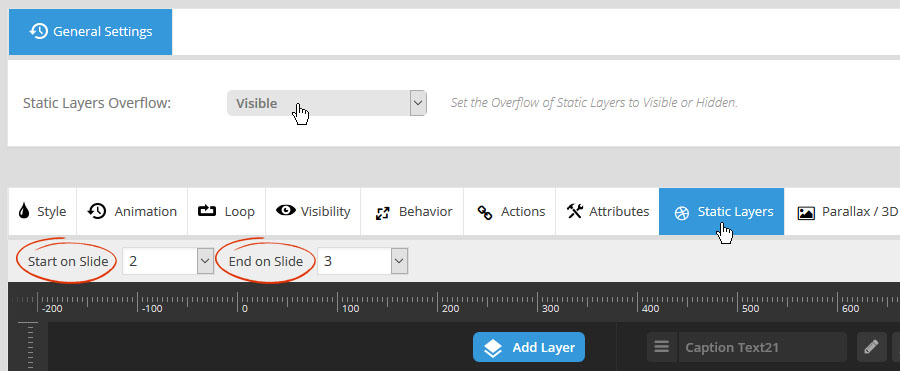
Choose the CSS overflow value for the Static Layers slide, and also choose what slide each individual Layer should start and end on.
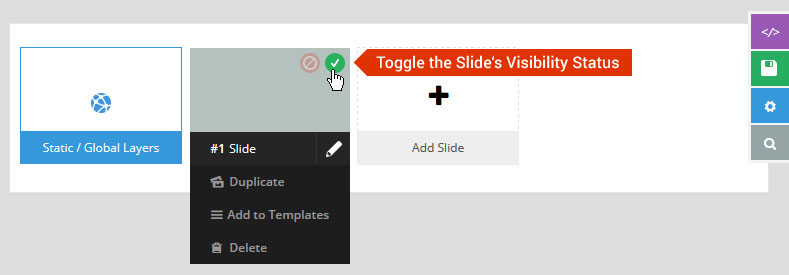
If a slide has an “inactive” status, the slide will still exist in the admin, and can still be edited, but will not be shown in the actual slider on the front-end of your site.
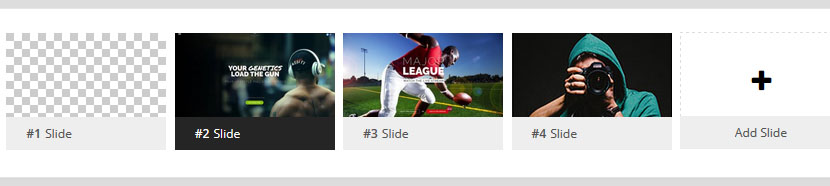
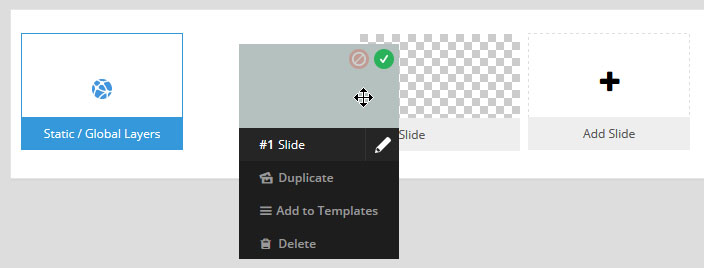
When two or more slides exist, change the slide order by moving the slide horizontally with your mouse.
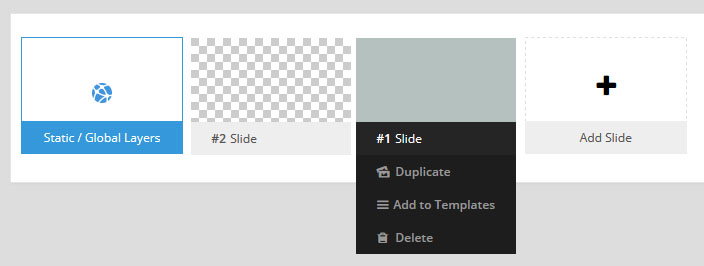
And now the slide is now positioned as the second slide in the slider’s rotation order.
To create a new slide, hover your mouse over the “Add Slide” box:
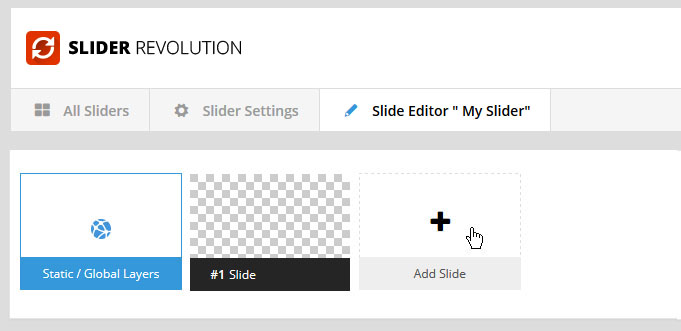
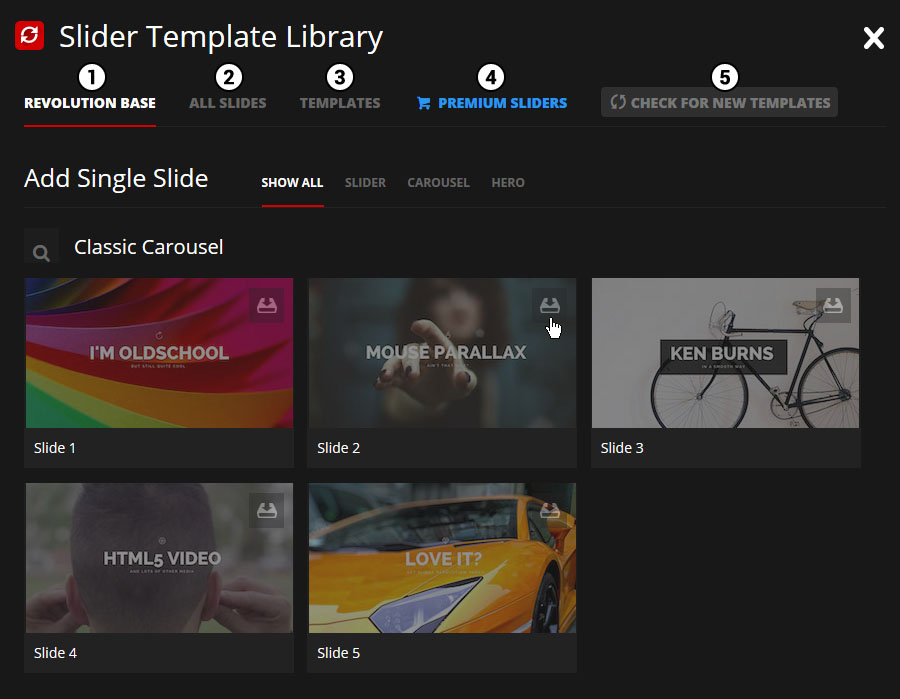
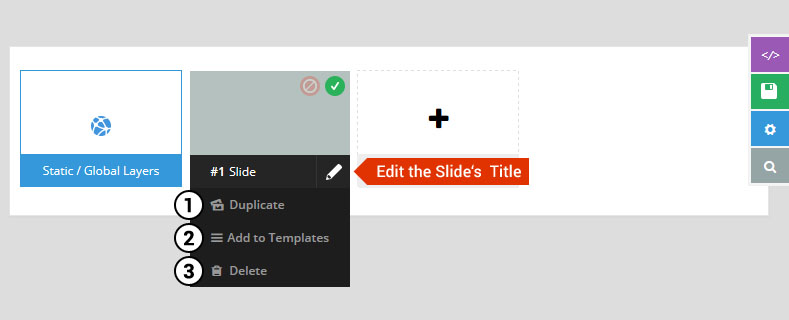
Then choose one of the options listed below:

Create a new slide with default settings.
Create multiple slides at once, based on a selection of media gallery images of your choice.
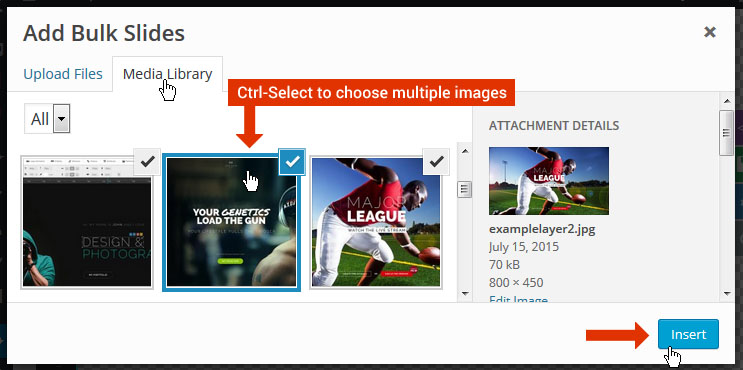
And a new slide will be created for each image you’ve chosen, with the selected image set as the slide’s main background image.