

Contents:
1. Install & Activate the Add-On
back to menu


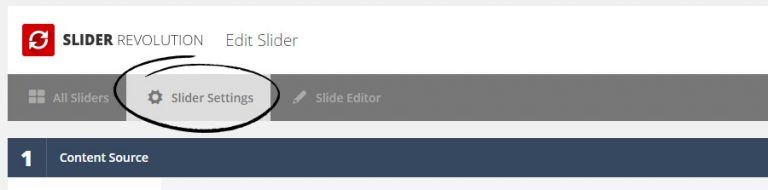
2. Enable the Add-On
back to menuStep 1: Enable the Before/After feature for your Slider

Step 2: Enable the Before/After feature for an individual Slide

3. Set the Reveal Direction
back to menu
4. Add your Background Sources
back to menu
5. Configure the content Layers
back to menu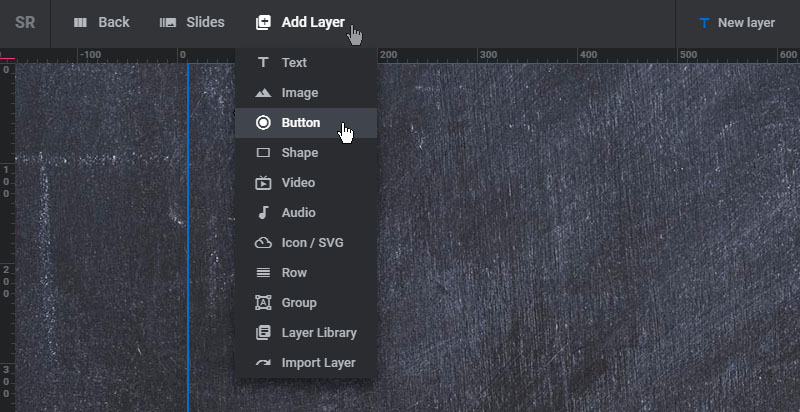

6. Toggle Before/After Views for the Editing Stage
back to menu


7. Set/Change the initial Reveal Points
back to menu
8. Arrows/Line Styling & Click Settings
back to menuChoose your Icon Arrows and adjust their size, spacing and color.


Optionally style the Arrows' main parent container element with some padding, a background-color, etc.
- Quick Tip:
Hover over each setting for a brief description of each option.

Change the size and color of the main divider line.
For no visible divider line set the "Line Size" option to "0".

Optionally change the default settings that get applied to newly created slides.
Choose to move the reveal point when the user clicks an area inside the slider. And optionally change the CSS mouse-cursor while dragging.

9. Reveal Line / Arrow Animations
back to menuFrom the following section:

Set an initial delay before the "After" side animates into view, and modify this animations' timing and transition type.

Choose how the current "After-side" content should animate out when slides change.

Animate the drag-reveal arrows to grab the user's attention.
