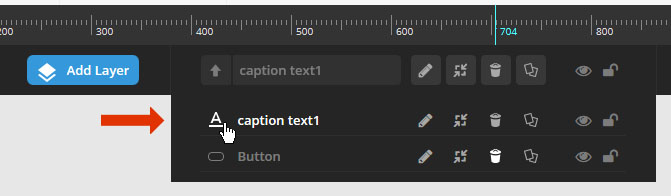
Toggle between layers for editing.


Toggle between layers for editing.


The layer’s WYSIWYG editor is a visual representation of the current slide.
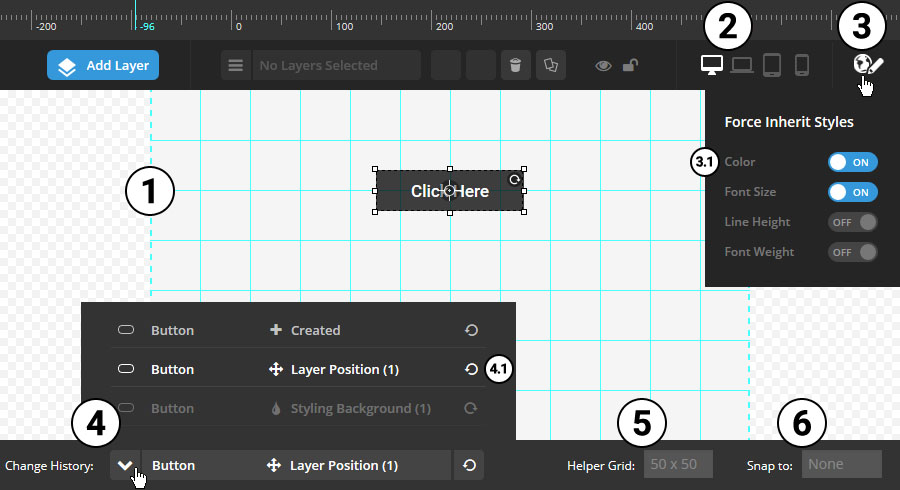
1. Layers Grid Boundary
The green dotted lines that represent the current Layers Grid size based on the current Screen/Device selection (2).
See “Special Note” below for important layer positioning information.
2. Screen/Device
To use this option, you first have to enable a Custom Grid Size for additional screens/devices.
Toggling between the different options here will allow you to style and position your Layer content based on the selected screen/device.
For example, if you had a text-based layer, you could assign it a font-size of 64px, with a top-right position for desktop view. Then if you switch to the smartphone view, you could change the layer’s font-size to 32px, and give it a bottom-left position.
3. Force Inherit Styles
Choose to automatically inherit the parent Layers Grid styles. For example, once Custom Grid Sizes are activated (2), after adding a Layer and styling it, if the Layer’s color were changed afterward, it would only be applied to the currently selected device (2), and therefore would need to be adjusted for all 4 devices (2) (or however many Custom Grid Sizes are currently being used). But when “Force Inherit Styles” is activated, the activated styles (2.1) will only need to be changed once, and then all other Custom Grid Sizes will inherit the new change.
4. Undo/Redo
Every change made in the editor will get recorded in the “Undo/Redo” list, allowing you to easily revert (4.1) an undesired change.
5. Helper Grid Guide Lines
The solid green lines as shown in the screenshot above. These are optional pixel based guide lines that can help when positioning your layers on the canvas.
6. Snap to:
When dragging and dropping your Layers around the canvas, you can choose to snap the Layer’s position based on the Helper Grid Lines or in relation to other layers.

