Slider Revolution Magento 1.x Extension Documentation

First Steps

1. Create a new Slider

1.1 From the plugin's main admin page, select "Create New Slider".
1.2 Enter a Slider Title (1) and Alias (2), and click "Save".
  • Quick Note:
    Before saving, you can select several of the slider's settings from this page. But choosing these settings are not required to officially create a new slider, as they can be adjusted afterward.
  • Alias Naming:
    The slider's "Title" can be anything, but the "Alias" should not have any special characters or spaces (but dashes and underscores are ok).
1.3 You'll now be redirected to the plugin's main admin page where you'll see your new slider listed.

There are two types of demos that can be imported.  The first are those included with the plugin by default, and the second are those that may be included with your purchased theme.

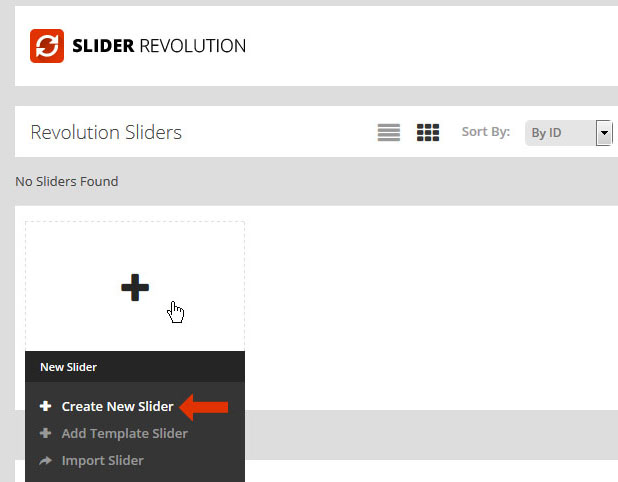
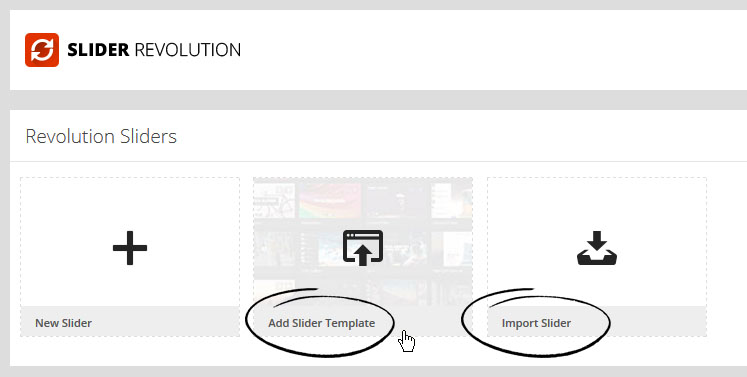
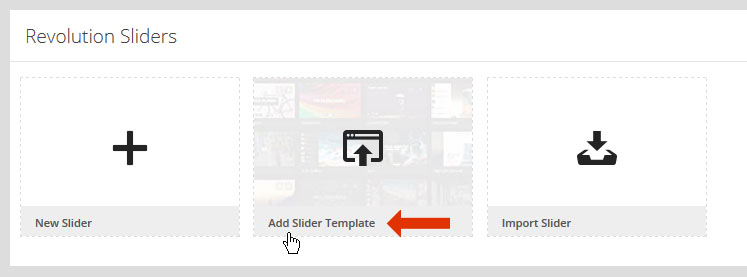
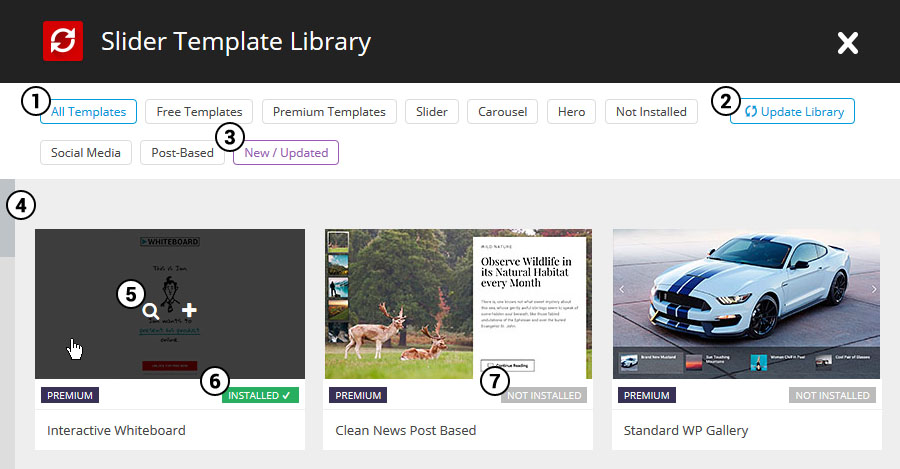
When choosing “Add Slider Template”, you will be shown the Template Library, which will include a large array of free templates for you to choose from, and also where the Premium Sliders can be found.

  1. Category Filters: Narrow your template search to a specific category.
  2. Update Library: Check to see if new templates are available.
  3. New/Updated: View the latest templates.
  4. Scrollbar: Scroll the template list window to view templates below the fold.
  5. Preview Button: View the template’s live demo.
  6. Installed: Signals that the template has already been downloaded.
  7. Not Installed: Signals that the template has yet to be downloaded.
Click the "+" icon to view the template's details and install the template.
  • Quick Note:
    If the template has not been downloaded yet, #5 and #6 would just be replaced with a button titled "Install Slider".
  1. Template Overview: Basic information about the template.
  2. Setup Notes: Important information about using the slider.
  3. Requirements: Information about the minimum plugin version and Add-Ons needed to install the the template.
  4. Installed/Available Version: Information about what current version of the template is installed, and its latest available version.
  5. Re-install Slider: Useful for when templates are updated, and also for cases when template content has been deleted by accident.
  6. Add Slider: Install the template.
  • Become a "Direct Customer" for Premium Sliders:
    "Premium Sliders" are only available to direct customers, and are not available if the plugin was packaged with your theme. But if you'd like access to Premium Slider', visit the link below to learn how you can become a direct customer.
    http://revolution.themepunch.com/direct-customer-benefits/

After choosing your template, choose how you wish to import it.  “Online” will import the template automatically from the ThemePunch servers, but you can also choose “Local” and import the slider from one of the demo zips included with the plugin’s original source.

For the example below, we’ll continue with the “Local” option.

  • Quick Note:
    "Premium Templates" are only available as "Online" imports.

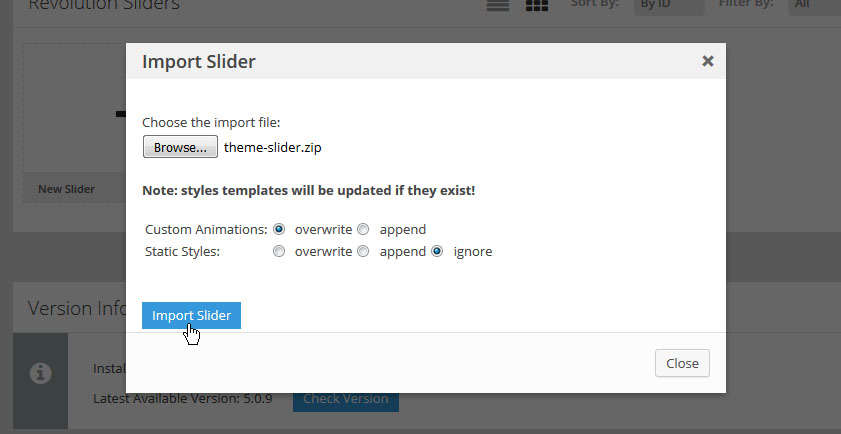
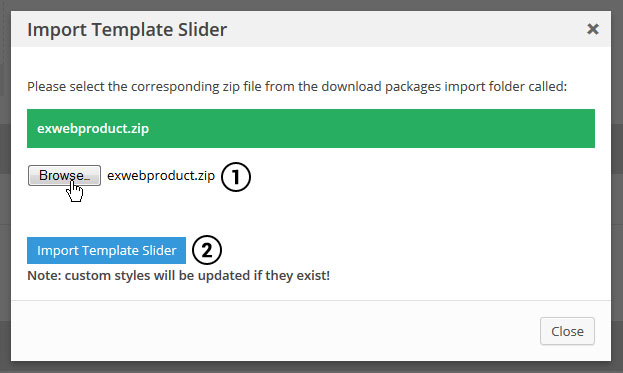
To complete the “Local” import, from the plugin’s original source folder, you’ll find a folder named “example-zips”.  Click the “browse” button (#1), and locate the zip file listed in the green box from your computer (i.e. “exwebproduct.zip”).  Then click “Import Template Slider” (#2).

You'll then see the template slider listed in the plugin's main admin page.

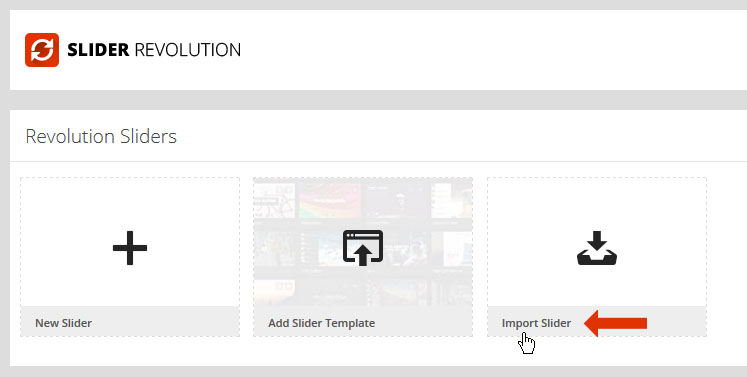
Use this option to import a demo that was possibly included with your purchased theme.

  • Special Note:
    Unless otherwise instructed by your theme author, use the default "Custom Animation" and "Default Styles" selections.
  • 1. General Options
    • a. Embed Slider - View options for how the slider can be added to one of your pages.
    • b. Export - Create a zip file of your slider that can be imported to a different website.
    • c. Delete - Delete the slider.
    • d. Duplicate - Create a copy of the current slider.
    • e. Preview - View a quick preview of the slider from inside the slider's admin.
  • 2. Slider Settings - Content Source, Layout Options, etc.
  • 3. Create/Edit Slides - Individual slide management.