For advanced usage, you can add a special class name (1), ID attribute (2), or additional attribute (3) to the HTML list element that represents the slide.

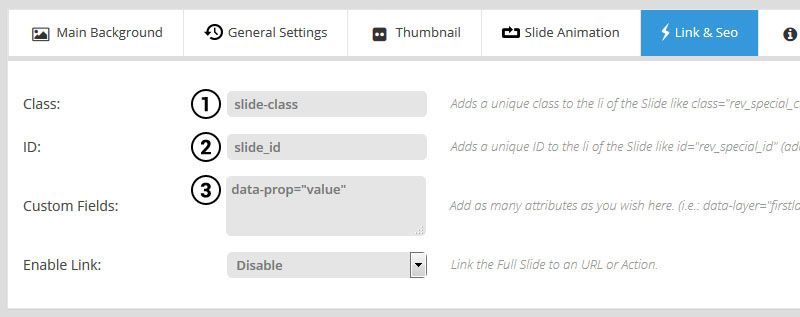
For advanced usage, you can add a special class name (1), ID attribute (2), or additional attribute (3) to the HTML list element that represents the slide.
For example, if you wanted to style hyperlinks for one slide differently from another, you could write some default CSS:
|
1 2 3 |
.rev_slider .tp-caption a {color: #FF0000} |
.. and then add a class name of “second-slide” in the “Link & SEO” section, which would allow you to adjust the default CSS above for an individual slide:
|
1 2 3 |
.rev_slider li.second-slide .tp-caption a {color: #0000FF} |
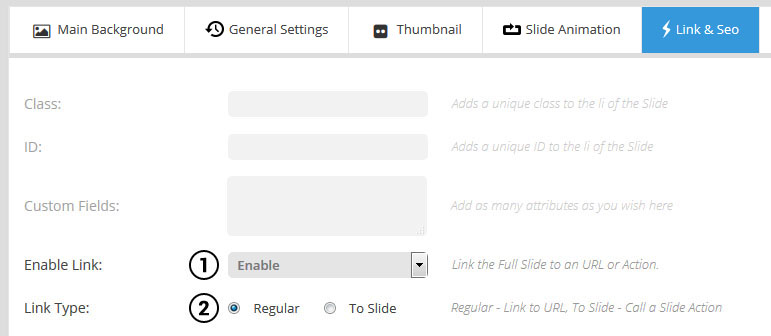
Options are “Enable” (add a link to the entire slide), and “Disable” (no master slide link).
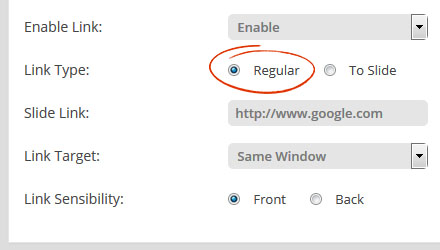
Add a url to one of your site’s pages or an external website.

Options are “Same Window” or “New Window” (i.e. new tab).
Front:
Slide’s hyperlink will be placed on top of the slide’s content layers (only a good option when additional content layers are not hyperlinked).
Back:
Slide’s hyperlink will be placed behind the slide’s content layers, allowing for additional hyperlinked content layers.
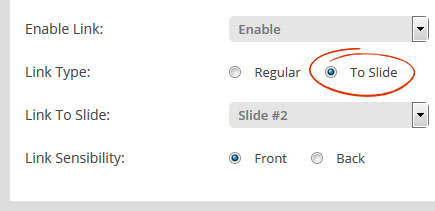
Options are “Next Slide”, “Previous Slide” or a specific slide number.
You can also choose “Scroll Below Slider”, which will scroll the page to additional content beneath the slider when the slide is clicked.
Front:
Slide’s hyperlink will be placed on top of the slide’s content layers (only a good option when additional content layers are not hyperlinked).
Back:
Slide’s hyperlink will be placed behind the slide’s content layers, allowing for additional hyperlinked content layers.