Create rich visual experiences with the Layer's animation tools.
Contents
1. In/Out Animations
All Layers have an "In" and "Out" animation.
The "In" animation is the very first animation that takes place before the Layer first becomes visible, and the "Out" is the very last animation that happens when the Layer officially animates out of view.
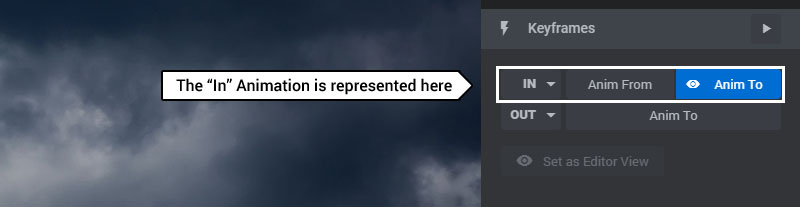
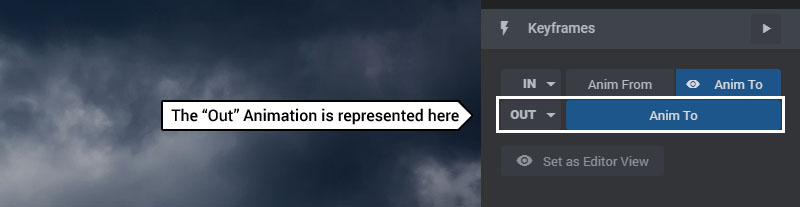
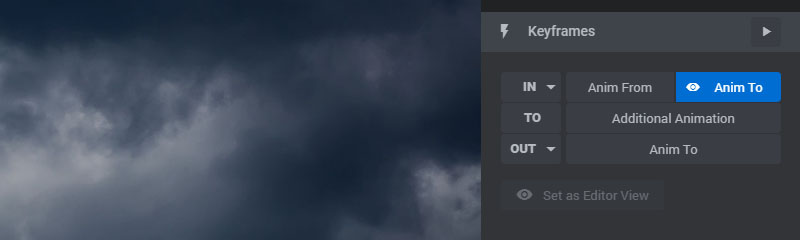
"In" Animations have two parts: "Anim From" and "Anim To".
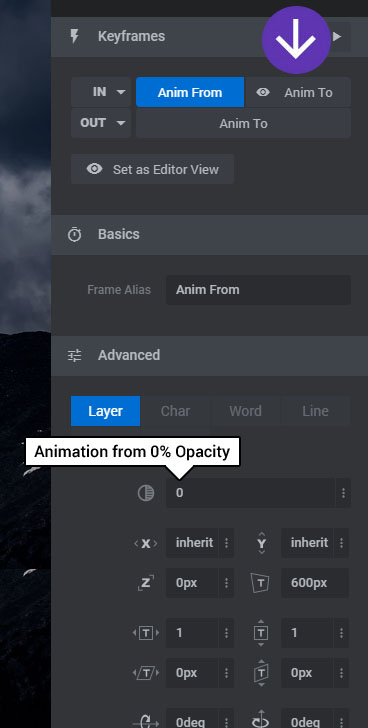
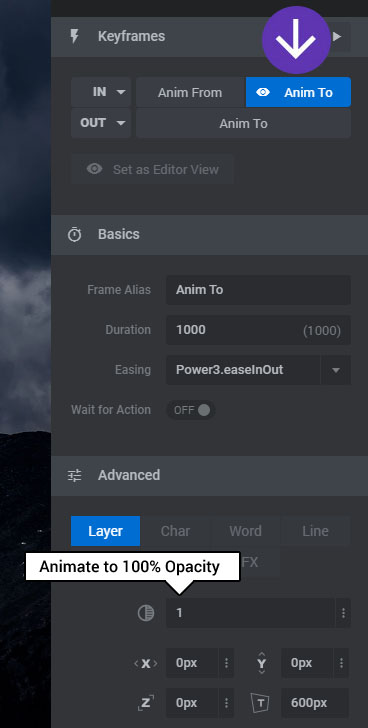
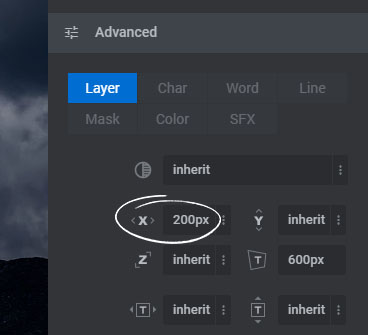
The "Anim From" part contains the animation's starting values. And the "Anim To" part contains the animation's ending values. For example, for a simple "Fade" animation, the opacity level is set to "0" in the "Anim From" section, and then set to "1" in the "Anim To" section. As a result, the Layer will be hidden at first (via the "0%" opacity level) and then fade into view 100%. Here's an example:
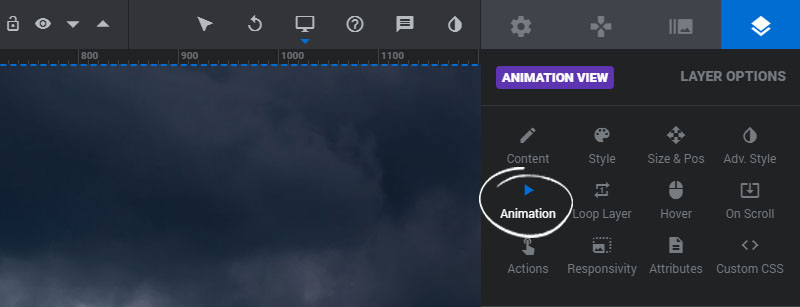
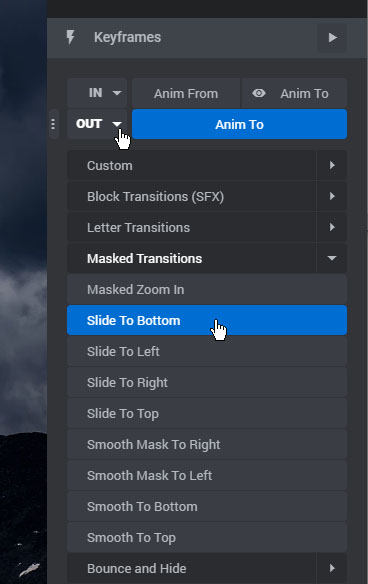
Selecting an Animation for the "In" and "Out"
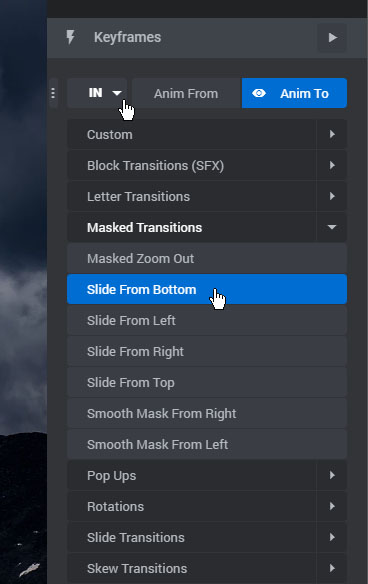
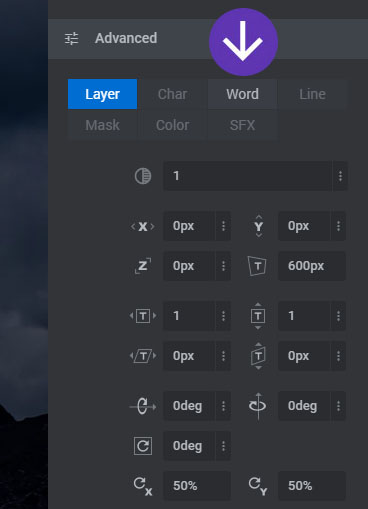
The example above shows the opacity levels being animated in the Advanced section. In general, you won't need to edit these values, as there are many animations with predefined values that you can choose from. To set an animation, just click the down arrow icon and then choose an animation from the list, a shown in the screenshots below. Then the Advanced Settings will be automatically populated.
2. Additional Animations
Additional Animations allow you to animate a Layer as the Slide's Timeline progresses. For example, you could animate a Layer into view, and then animate its placement in the module shortly after with an additional Keyframe. You can add as many additional animations as you want, allowing you to create rich visual experiences throughout the life-cycle of your Slide.
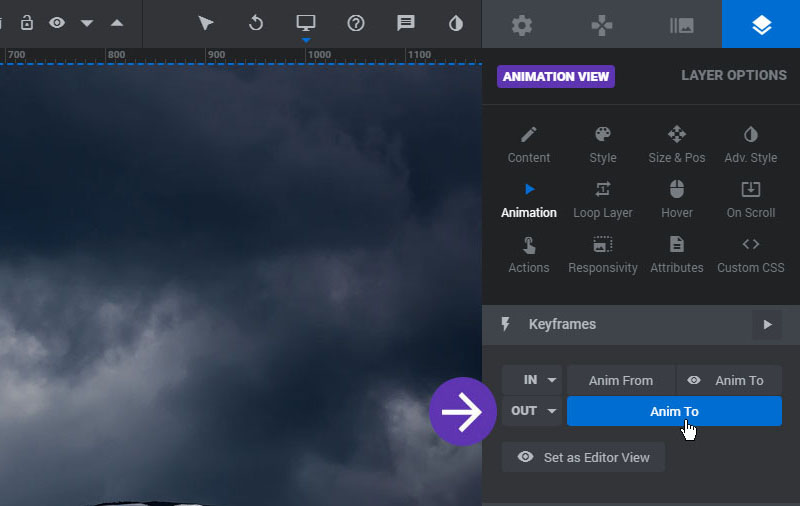
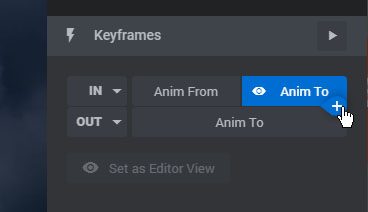
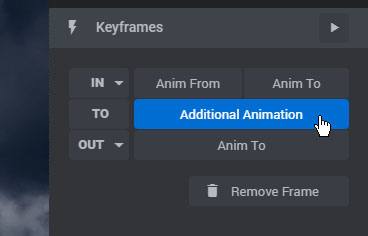
To add an additional animation, hover your mouse over the "Anim To" button and then click the plus icon.
Then a new "Keyframe" animation will be created, which represents an additional animation for the Layer.
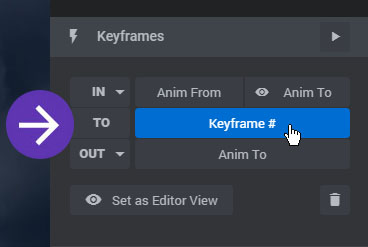
Then adjust the animation's Advanced settings to setup the animation for the new Keyframe.
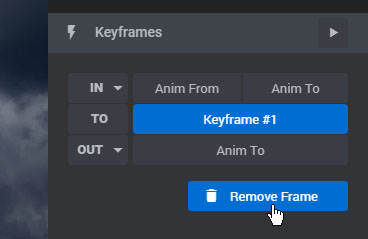
And click the "Remove Frame" button if you wish to delete the Keyframe animation.
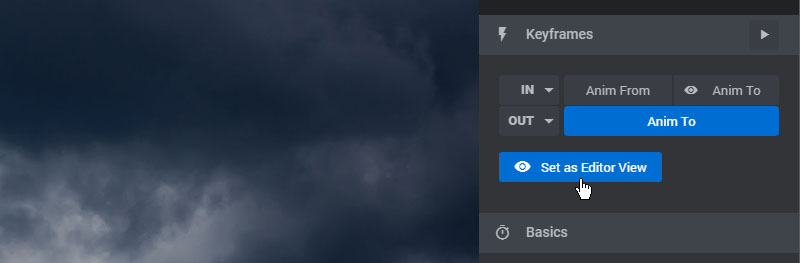
3. Set as Editor View
Depending on your Layer's animation sequence, you may want the editing stage to display a certain "animation point" as you design your Slide. As you toggle between these states ("Anim From", "Anim To", etc.), click the "Set as Editor View" button to turn that state into the "displayed state" on the editing stage.
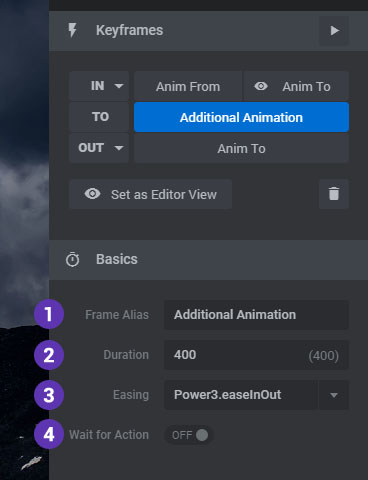
4. Basics: Naming, Duration & Easing
To edit these options, first select an animation from the Keyframes section.
1. Frame Alias
Edit the name of the animation for admin purposes.
2. Animation Duration
The total time the animation will take place in milliseconds.
3. Animation Easing
The easing equation to be used for the animation.
4. Wait for Action
Enable this option if the animation should always wait to be triggered by another Layer's Action.
5. Timeline Editor
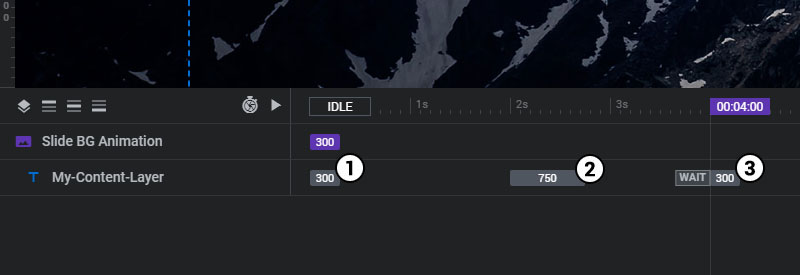
Every Layer and their animations are represented in the Timeline Editor. For example, the three animations listed here:
Are represented here in the Timeline Editor.
6. Advanced Settings
Select the Animation you wish to edit to adjust its Advanced settings.
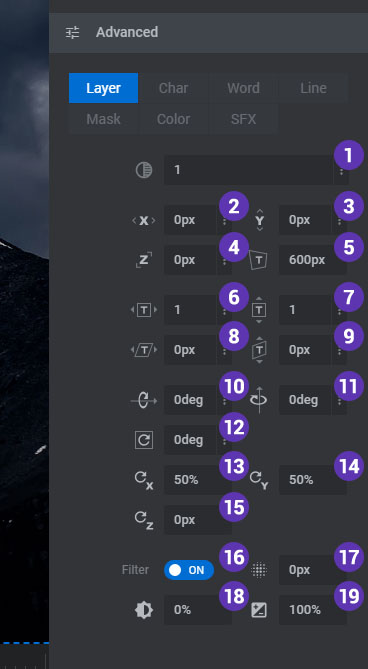
If your animation has settings from one of the sections, the section tab will be slightly highlighted. For example, in the screenshot on the right, the animation has a "Filter" enabled.
1. Opacity
Adjust the transparency level for the Layer.
2/3/4. TransformX/Y/Z
Scale the Layer's width and height. Enter a number 0-1 where "1" is equal to equal 100%.
5. Persepective
Adjust the CSS perspective value. Useful for 3D views.
6/7. ScaleX/Y
Scale the Layer's width and height. Enter a number 0-1 where "1" is equal to equal 100%.
8/9. SkewX/Y
Apply a skew distortion to the Layer.
10/11. RotateX/Y
Apply 3D rotations to the Layer.
12. 2D Rotation
Apply a 2D rotation to the Layer.
13/14/15. OriginX/Y/Z
Optional CSS transform-origin points.
16/17/18/19. Filter Animations
Animate the Layer's CSS "Blur" (#17), "Grayscale" (#18) and "Brightness" (#19) filters.
Animate a Layer's text by Letters (Char), Words or Line. The settings for these options are identical.
Text Animations are additional animations that coincide with the Layer's default animations. For example, a Layer could animate into view with a "Slide to Top" animation applied, while at the same time animating its individual letters one by one.
1. Enable
Enable a Char, Word or Line split-text animation.
2. Direction
Choose which direction the text should animate (forward, backward, etc.)
3. Delay
The delay between each individual animation. For example, "5" would delay each letter/word/line animation by 5 milliseconds. A delay is required for the effect to take place.
4. Easing
The easing equation used for the animations.
5. Opacity
Adjust the transparency level for the Layer.
6/7/8. TransformX/Y/Z
Scale the Layer's width and height. Enter a number 0-1 where "1" is equal to equal 100%.
9/10. ScaleX/Y
Scale the Layer's width and height. Enter a number 0-1 where "1" is equal to equal 100%.
11/12. SkewX/Y
Apply a skew distortion to the Layer.
13/14. RotateX/Y
Apply 3D rotations to the Layer.
15. 2D Rotation
Apply a 2D rotation to the Layer.
16/17/18. OriginX/Y/Z
Optional CSS transform-origin points.
19/20/21/21. Filter Animations
Animate the Layer's CSS "Blur" (#17), "Grayscale" (#18) and "Brightness" (#19) filters.

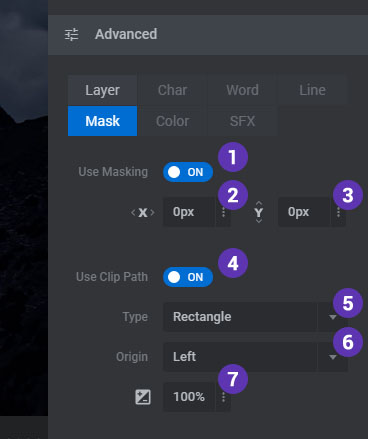
Masking animations allow the Layer to be animated into and out of view within its own container.
1. Layer Masking
Enable this option to add a Layer Masking animation.
2. Offset X
Adds a left offset to the Mask's starting point as the Layer animates.
3. Offset Y
Adds a top offset to the Mask's starting point as the Layer animates.
4. Use Clip Path
Animate the Layer's CSS clip-path, allowing for traditional "wipe" type animations.
5. Clip Path Type
Choose 'Rectangle' or 'Circle' for traditional wipes from the sides, center or corners, and 'Inverts' for curtain-type reveals
6. Clip Path Origin
Choose which direction the Clip Path should move to
7. Clip Percentage
The percentage of the Layer to apply the clip-path mask to. The number '0' would represent a completely hidden and '100' represent completely visible.
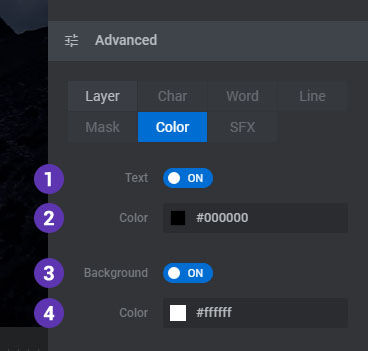
1. Text Color
Enable this option and set a color to animate the Layer's text color.
2. Background Color
Enable this option and set a color to animate the Layer's background color.
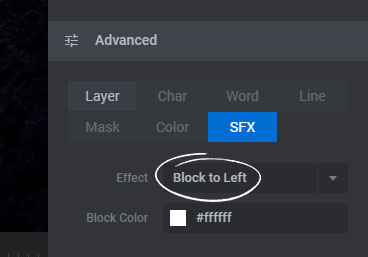
Animate the Layer with a pre-built special effect animation.
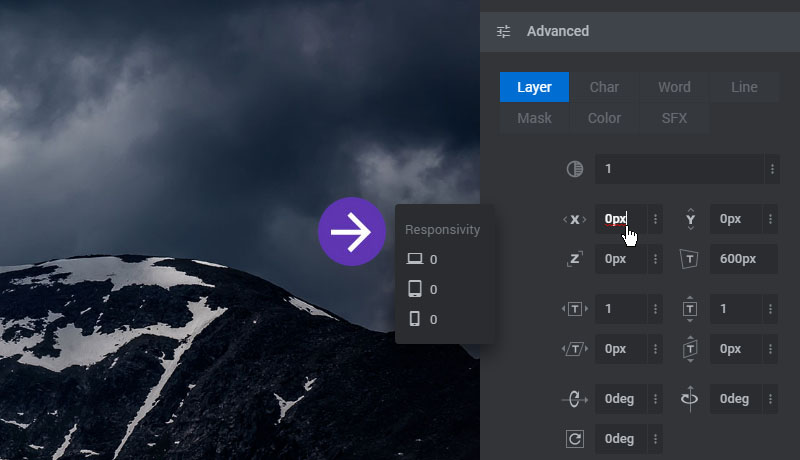
7. Responsive Options
When editing the options, if you see the “Responsive” box pop up toward the left as shown in the screenshot below, it means the option can be edited differently for the four available Responsive Breakpoints.
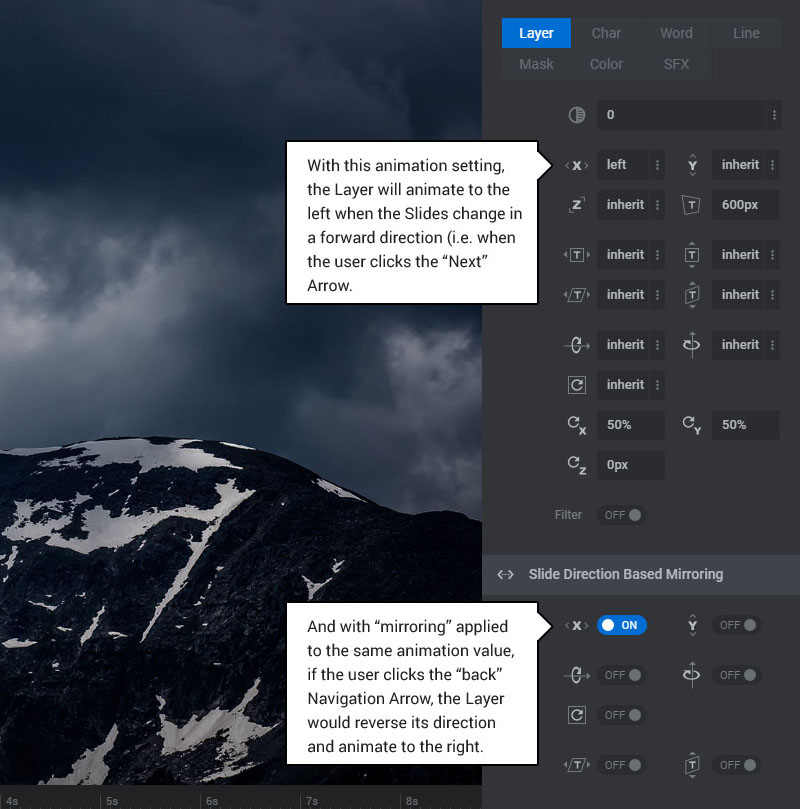
8. Slide Direction Based Mirroring
Sliders have two special "Slide Transition" options called "Slide Horizontal" and "Slide Vertical", which animate two Slides in a single direction based on whether the user is navigating forward or backward in the Slider.
For example, with "Slide Horizontal", if the user clicked the "next" navigation Arrow, the current Slide would fly out to the left, and the new Slide would fly in from the right. And vice versa if the user clicked the "previous" Navigation Arrow.
And "Slide Direction Based Mirroring" allows you to connect your Layer's animations to this user-behavior, allowing your Layers to animate in the same direction as the Slides.
Here's an example of "Slide Horizontal" applied to your Slide's animation.
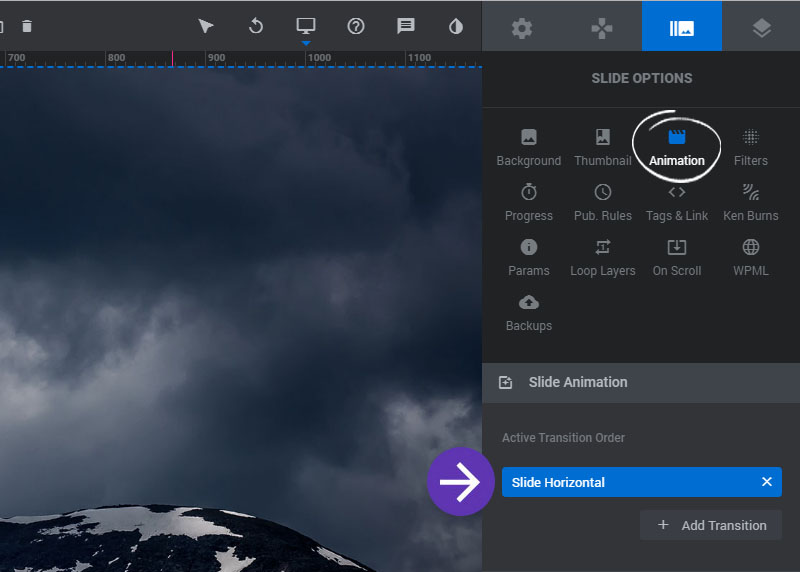
And then we can connect this user-based animation behavior to the Layer's animation via the mirroring option.
In the following example, we'll animate the "x" position in the Layer's "Out" Animation, and then enable the mirroring for this value.