In order to use Video with Essential Grid, you first have to add your video ID’s and/or URL’s. All that’s needed for YouTube, Vimeo or Wistia is the video’s individual ID, and an absolute url is required for self-hosted HTML5 Video.
ID’s for YouTube, Vimeo and Wistia can be found in their respective video links:
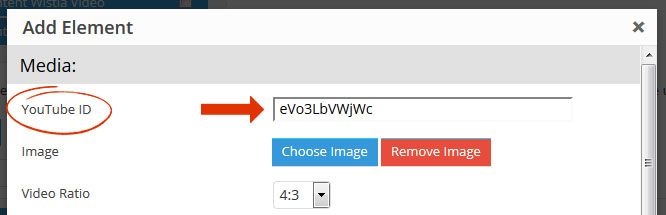
YouTube ID = eVo3LbVWjWc
|
1
2
3
|
https://www.youtube.com/watch?v=eVo3LbVWjWc
|
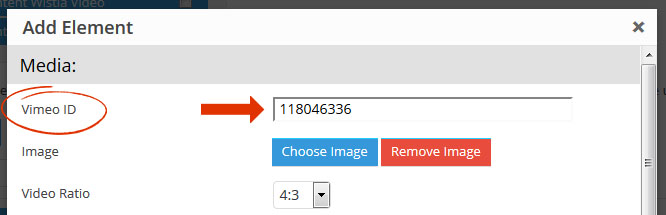
Vimeo ID = 118046336
|
1
2
3
|
https://vimeo.com/118046336
|
Wistia ID = 479268413a
|
1
2
3
|
http://fast.wistia.net/embed/iframe/479268413a
|
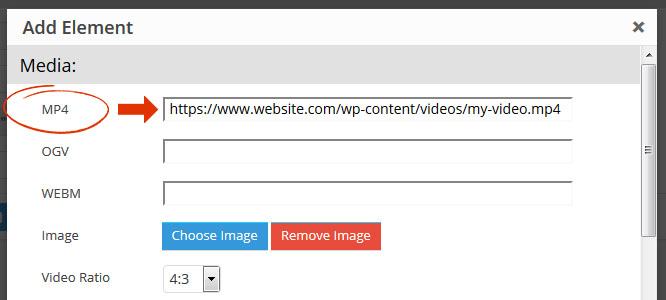
For self-hosted HTML5 Video, upload an “mp4” version of your video to your website using your favorite ftp program, and then locate the absolute url to the video on your site:
HTML5 Video URL Example:
|
1
2
3
|
https://www.website.com/wp-content/videos/my-video.mp4
|
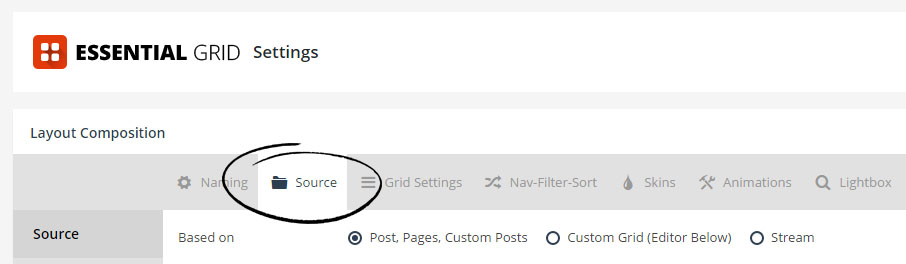
Where you enter your video’s ID/URL will depend on whether you’re using a product-based grid or a Custom Grid.
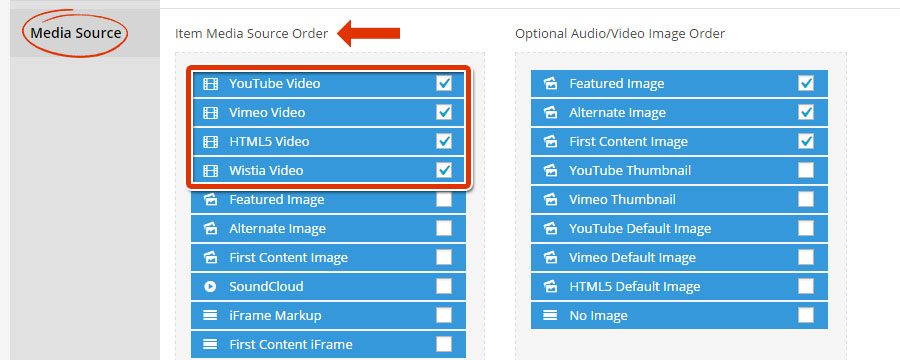
For a Custom Grid, inside the “Sources” section of your grid, scroll to the “Add Items” section, and select the video type you wish to add:


Video can be played directly inside a grid item. Visit the following demos to see examples of this.
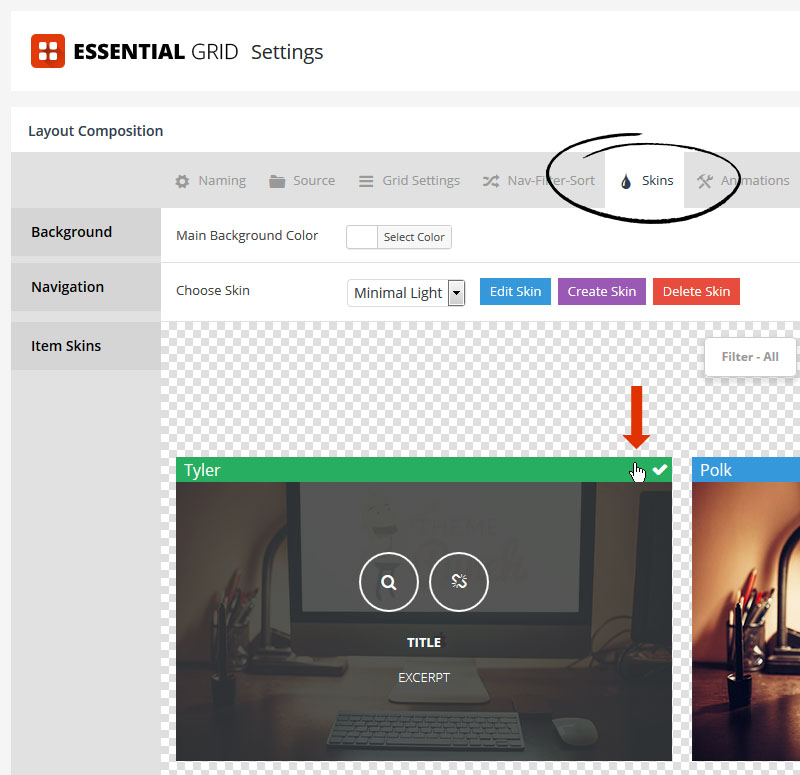
In the above examples, you’ll notice that all items have an image along with with a fancy hover skin that includes a “play” button/icon for the video.
This special hover-skin will only be shown if a “video poster image” has been added to the grid item, which can be a custom or designated “default” image of your choosing. Or, it can be the poster loaded directly from YouTube/Vimeo.com

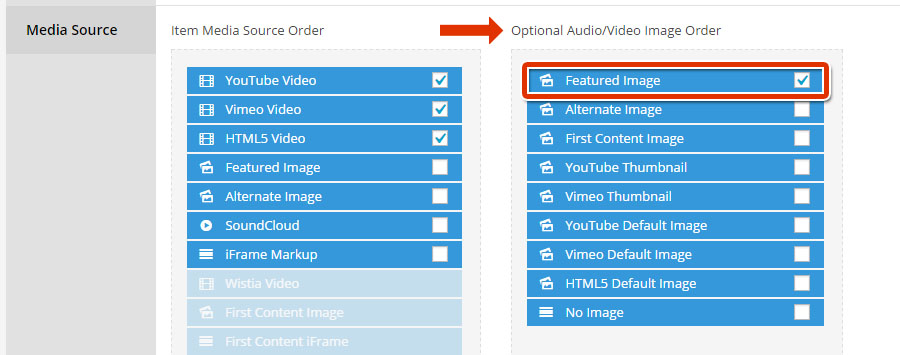
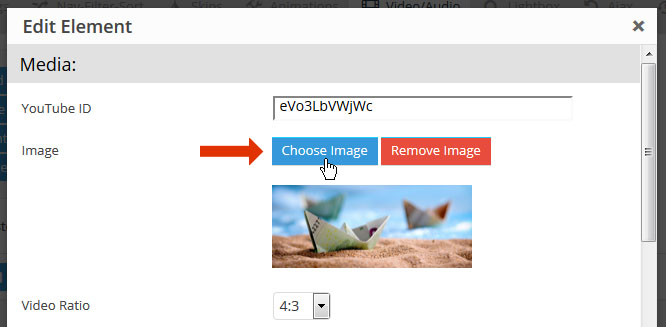
To add a custom preview/poster image for a Custom Grid item, select “Featured Image” for the video poster source.
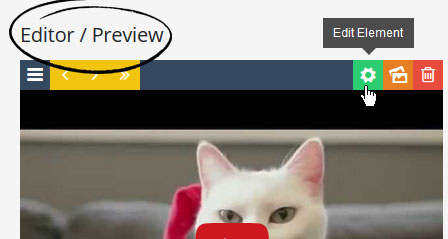
And then to add the poster images, scroll to the “Editor / Preview” section, click “Edit Element”, and then “Choose Image”.
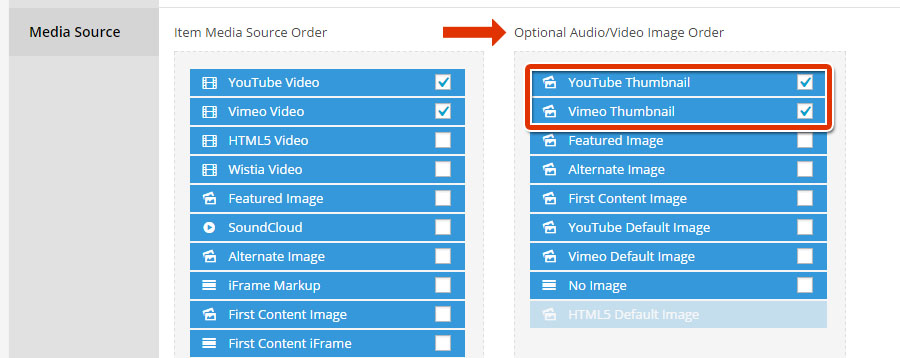
If you’re using YouTube or Vimeo videos, you can choose to load the video’s preview poster directly from YouTube/Vimeo.com
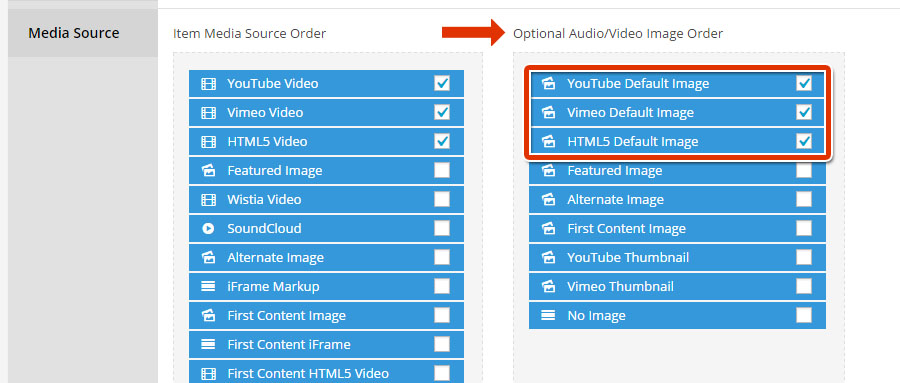
Setup a custom default image to be shown automatically across all items.
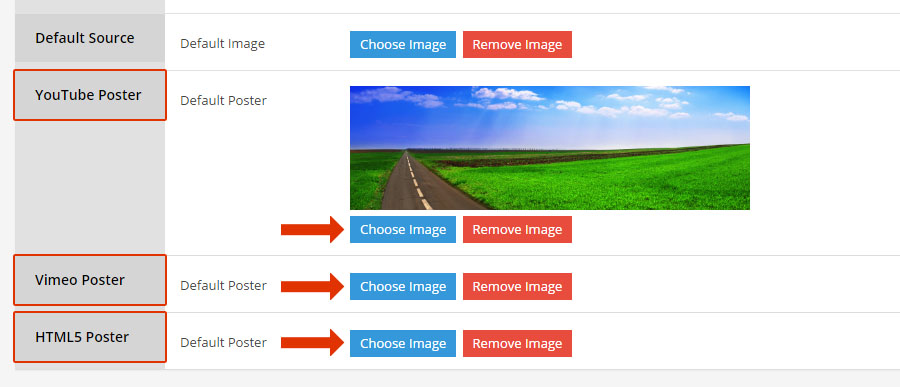
Then scroll further down the page assign the default video poster image(s).
The three skins listed above include a video play button/icon by default, but we can modify any of the additional skins to play video inside the grid item as well:
The process for setting up video to play inside the lightbox is very similar to playing video inside the grid item itself, in that both a video ID/url and also an image will need to be added to the grid item.
Setting up video ID’s/urls’s and images for grid items will vary based on whether you’re using a Product-based Grid or a Custom Grid. Review the previous sections in this article for information about both processes.
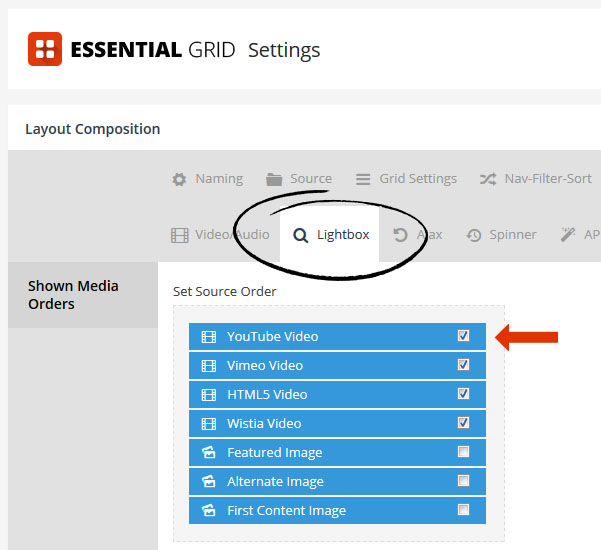
Once you’ve setup your grid items to include both a video ID/url and also an image, follow the steps listed below to load the video inside the lightbox:
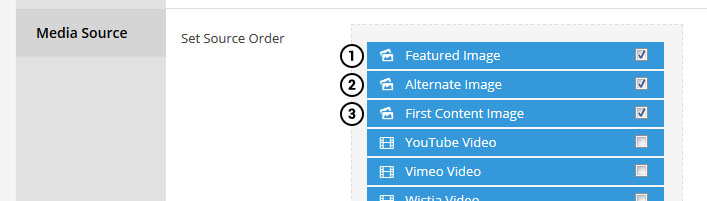
For a post-based grid, you can choose one of the three options listed in the screenshot below.
For a Custom Grid, always choose “Featured Image” (#1 below).
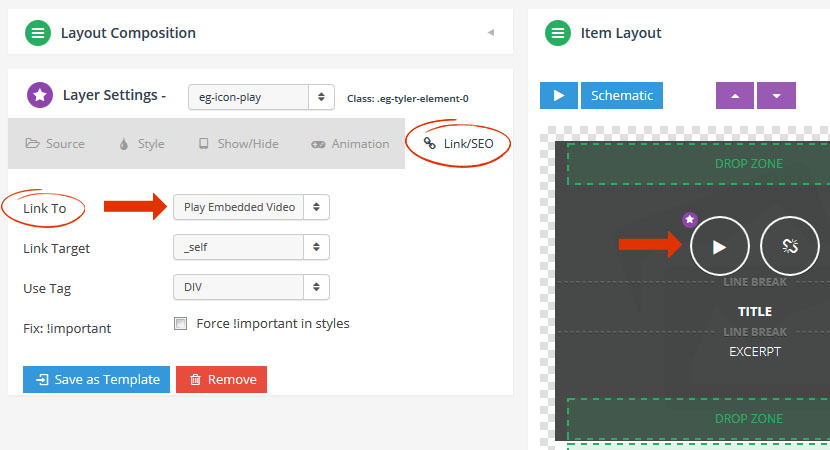
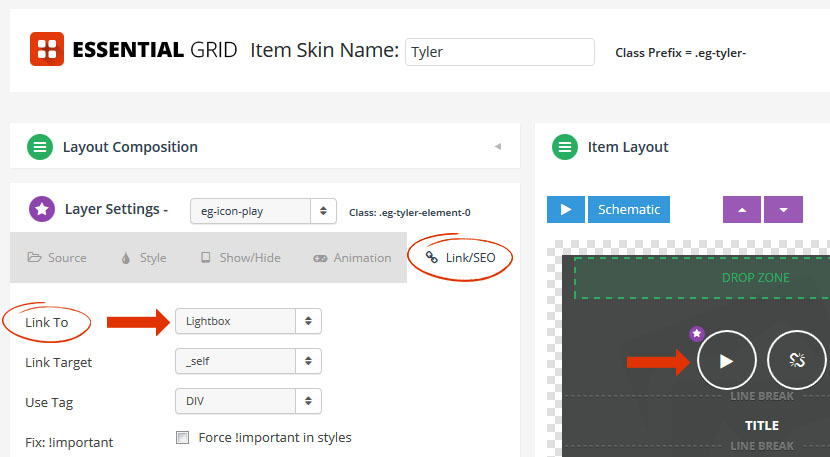
Most skins include a magnifying glass icon, that’s automatically connected to the lightbox by default.

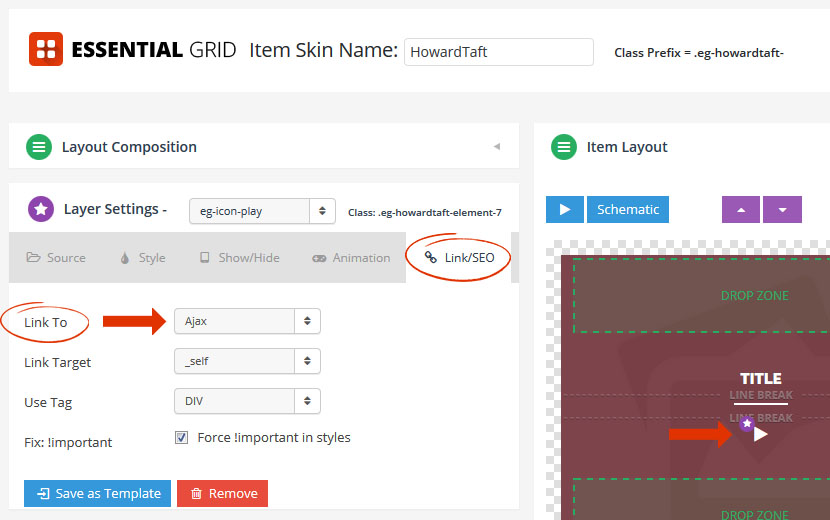
To change the icon from a magnifying glass to a play button, follow steps #1-4 here. Then for step #5, set the “Link To” option to “Lightbox”:
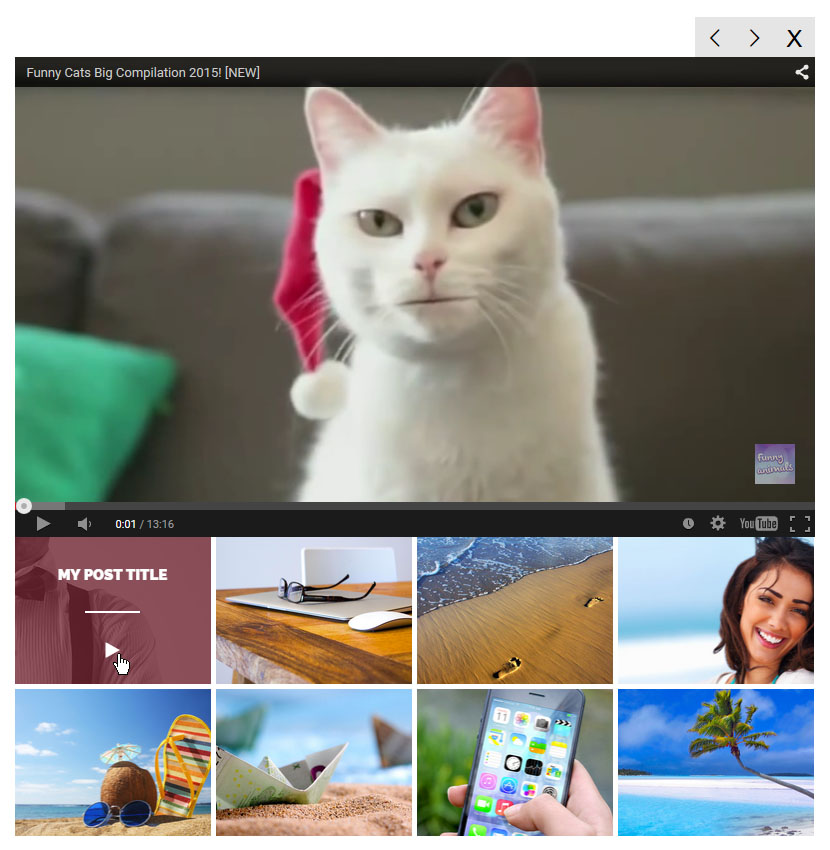
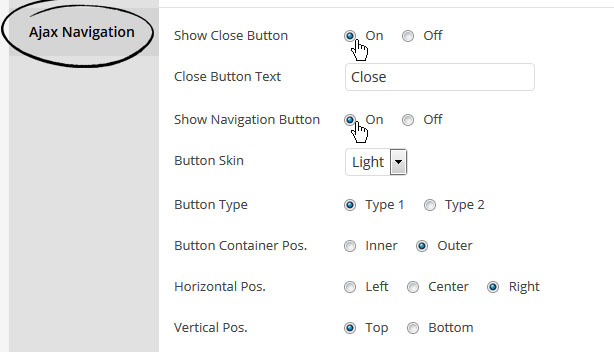
Essential Grid has a special feature where content can be loaded dynamically above or below the grid. To illustrate this, here’s a view of a sample grid:

And here’s the same grid with a video loaded as the Ajax content: