
In a previous topic we have considered several ways on How to Create Custom Email Templates in Magento 2. In this article we’ll learn how to style them and make their look fit our project design most.
Some email clients like Gmail support CSS styles that have been applied as inline styles on the style attribute of HTML tags. Most of email styles are applied as inline styles because of this. Inline styling is provided by the Emogrifier library, that takes the HTML & CSS and adds all of the CSS styles to style attributes of the HTML tags.
- Inline Styles
- Non-inline Styles
- Override Styles
1. Inline Styles
If you open email template, for example /magento-email/view/frontend/email/header.html, you may notice the inlinecss directive in the next string:
{{inlinecss file="css/email-inline.css"}}The directive tells Magento what file is applied as inline styles for current email template. Using the built-in Emogrifier tool the email template HTML will be automatically transmogrified by parsing CSS and inserting these CSS definitions into tags within email template HTML based on CSS selectors. By default CSS file can be found in pub/static/frontend/{Company}/{Theme}/{Locale}/css/ directory. In our case we are using default Magento theme CSS: pub/static/frontend/Magento/blank/en_US/css/email-inline.css. An example on how it works can be found below:
CSS rule from css/email-inline.css
.wrapper {
    margin: 20px auto;
}
HTML code from email/header.html
The output source
2. Non-inline Styles
Non-inline styles for emails come from global and template-specific styles, as described in the following sections.
- Global styles
There are certain CSS styles that can’t be applied inline, for example media queries or :hover pseudo styles. These styles should be added in a head meta <style type=”text/css”></style> tag in order to work. We continue using the default Magento template /magento-email/view/frontend/email/header.html as an example. Now look for a css directive inside of a <style> tag:
{{css file="css/email.css"}}It is also possible to use the relative module path for a CSS file like this:
{{css file="Magento_Sales::css/filename.css"}}
The directive compiles the contents of the css/email.css and outputs it further in a <style> tag of the email. The css/email.css file can be found in a pub/static/frontend/{Company}/{Theme}/{Locale}/css/ directory if you have deployed your static files. In our case we are using default Magento theme CSS: pub/static/frontend/Magento/blank/en_US/css/email.css. The related less file can be found in your current theme {Company}/{Theme}/{magento-module}/web/css/ directory. It works the next way:
For example, an email is being sent from a store configured with any Magento theme. The css directive first looks for an email.less file in {Magento-theme-module}/web/css. But if the file doesn’t exist there, it falls back to default {Magento_Blank_theme_dir}/web/css/email.less file. The contents of that file are compiled and its contents output in the <style> tag.
- Template-specific styles
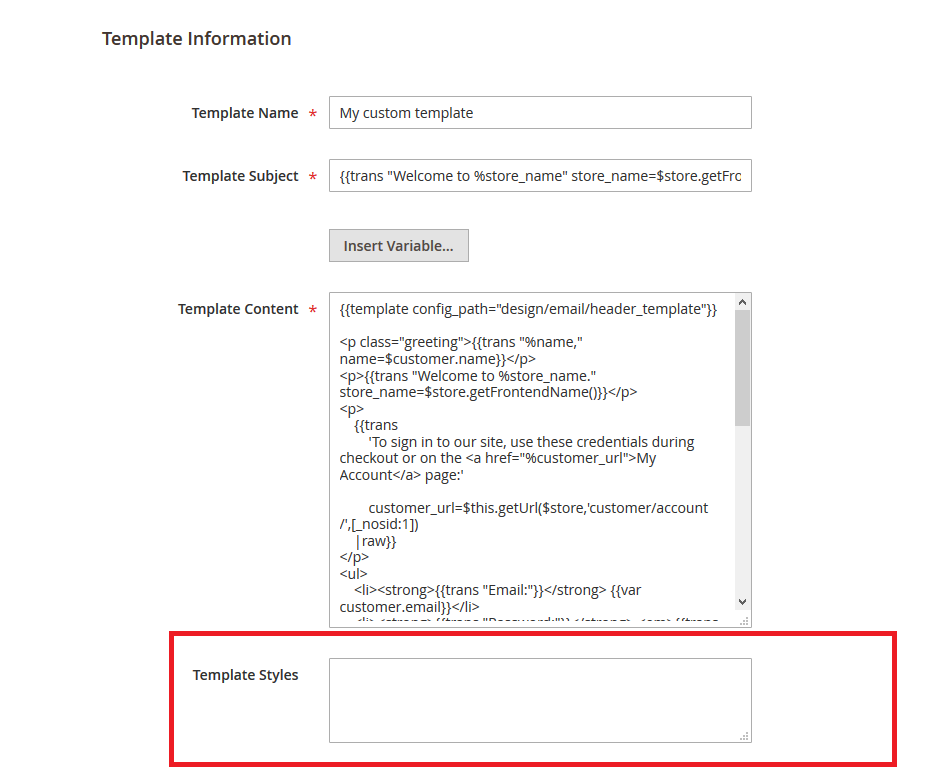
As mentioned earlier, the header.html file also outputs the template_styles variable:
{{var template_styles|raw}}This is just the CSS code that you can inject into Template Styles (see a screenshot below) textarea that you can see in the admin area while managing email template directly. This part is applied on per template bases and it can be always different for every template.
3. Override Styles
It’s important to know how email styles are organized in Magento 2 and we strongly recommend to check this info prior you start overriding styles for Magento email templates.
So, after we already know how the styles works, we can now override them. To achieve this you should follow the next steps:
- Create your own .less based on default Magento file. The default .less file can be found in {magento-module}/web/css directory.
- The file should be placed into {Company}/{Theme}/{magento-module}/web/css/source directory.
- The file name should start with “_” and then the name of the file we override from current module e.g. _email.less. In case we need to override styles for all templates at the same time the file name should end with the word “-extend” e.g. _email-extend.less (default: email.less).
- Add your own styles into your .less file.
- Фfter you finish re-deploy the content using the next command in your console:
php bin/magento setup:static-content:deploy -f
Our custom _email-extend.less will be included after compilation of both email.less and email-inline.less files. All styles, except styles in mixins like
.email-non-inline()and.media-width(), will be added as inline styles.
If you have any difficulties styling your emails using this tutorial there is an easier solution – Magento 2 Email Templates extension.