
Tutorial requirements:
- slider Revolution 5.x installed on magento 1.x.
- magento 2 installation
This tutorial assumes that you have slider revolution for magento 1.x. You will need to export slider from that version in order to use it in magento 2. Do not upload magento 1.x extension to magento 2!.
- Login to magento 1.x admin and navigate to “NWDthemes > Revolution Slider > Slider Overview”.
- Open plugin’s “Global Settings”
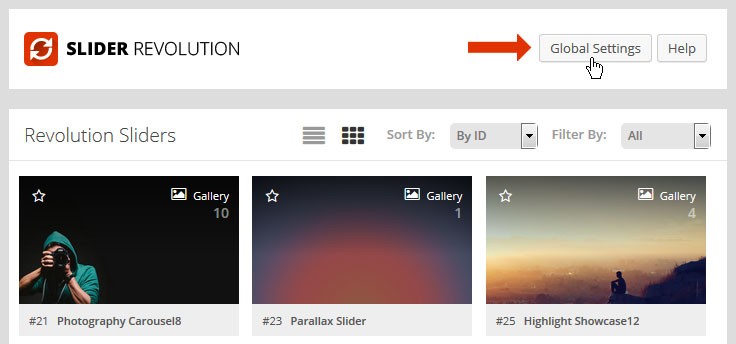
- Set “Enable Markup Export option” to “On” and press “UPDATE” button in the bottom of popup.

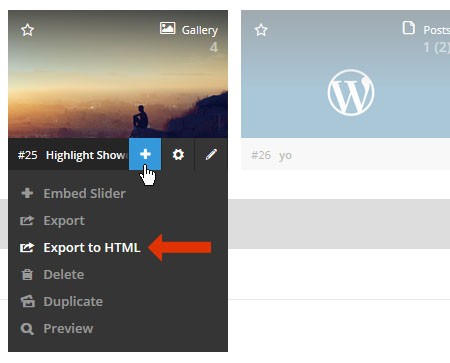
- Press F5 on your keyboard to refresh the browser’s page (or just reload the admin page manually).
- Select the “Export to HTML” option for your slider. This option will only be visible after performing steps #1-4 above.
- Slider zip has following structure:
* assets
* css
* fonts
* js
* slider.htmlIn slider html you can find the source code for the slider. You need to copy assets, css, fonts and js folder to your html site corresponding folders. Js and CSS includes can be found in head section of slider.html Slider source can be found in body section of slider.html
- Unzip slider package and copy it to web folder of your magento 2 theme. We will install the slider in default “Luma” theme. Usually custom themes located under app/design/frontend/. But in case with Luma it is located under vendor/magento/theme-frontend-luma/. We will install one of default sliders called classicslider. Result path would be vendor/magento/theme-frontend-luma/web/classicslider.

- Now lets add slider css to the theme. First open classicslider/slider.html and open vendor/magento/theme-frontend-luma/Magento_Theme/layout/default_head_blocks.xml. Select fonts and stylesheet from slider.html HEAD tag and copy it to default_head_blocks.xml. In our case we need to copy this part from slider.html
<!-- LOADING FONTS AND ICONS -->
<link href="http://fonts.googleapis.com/css?family=Raleway%3A500%2C800" rel="stylesheet" property="stylesheet" type="text/css" media="all" /><link href="http://fonts.googleapis.com/css?family=Raleway%3A800%2C500%2C400" rel="stylesheet" property="stylesheet" type="text/css" media="all" />

<link rel="stylesheet" type="text/css" href="fonts/pe-icon-7-stroke/css/pe-icon-7-stroke.css">
<link rel="stylesheet" type="text/css" href="fonts/font-awesome/css/font-awesome.min.css">

<!-- REVOLUTION STYLE SHEETS -->
<link rel="stylesheet" type="text/css" href="css/settings.css">
<!-- REVOLUTION LAYERS STYLES -->
This code needs to be adjusted according to magento layout xml rules. Check magento 2 documentation for more information on including static resources – http://devdocs.magento.com/guides/v2.0/frontend-dev-guide/layouts/xml-manage.html#layout_markup_css
CSS file include:
was:
<link rel="stylesheet" type="text/css" href="fonts/pe-icon-7-stroke/css/pe-icon-7-stroke.css">
become:
<css src="classicslider/fonts/pe-icon-7-stroke/css/pe-icon-7-stroke.css"/>Google Font include:
was:
<link href="http://fonts.googleapis.com/css?family=Raleway%3A500%2C800" rel="stylesheet" property="stylesheet" type="text/css" media="all"/>
become:
<link src="https://fonts.googleapis.com/css?family=Raleway:500,800" src_type="url" rel="stylesheet" type="text/css"/>Resulting code for default_head_blocks.xml
<!-- LOADING FONTS AND ICONS --> <link src="https://fonts.googleapis.com/css?family=Raleway:500,800" src_type="url" rel="stylesheet" type="text/css" /> <link src="https://fonts.googleapis.com/css?family=Raleway:800,500,400" src_type="url" rel="stylesheet" type="text/css" /> <css src="classicslider/fonts/pe-icon-7-stroke/css/pe-icon-7-stroke.css" /> <css src="classicslider/fonts/font-awesome/css/font-awesome.min.css" /> <!-- REVOLUTION STYLE SHEETS --> <css src="classicslider/css/settings.css" /> - Next step is to specify dependencies for our javascript libraries. Create vendor/magento/theme-frontend-luma/requirejs-config.js with following content:
var config = { "shim": { "classicslider/js/jquery.themepunch.tools.min": ["jquery"], "classicslider/js/jquery.themepunch.revolution.min": ["jquery", "classicslider/js/jquery.themepunch.tools.min"] } }; - Login to magento 2 admin panel
I would highly recommend to disable WYSIWYG editor before creating static block. It can be done in Stores > Configuration > Content Management section
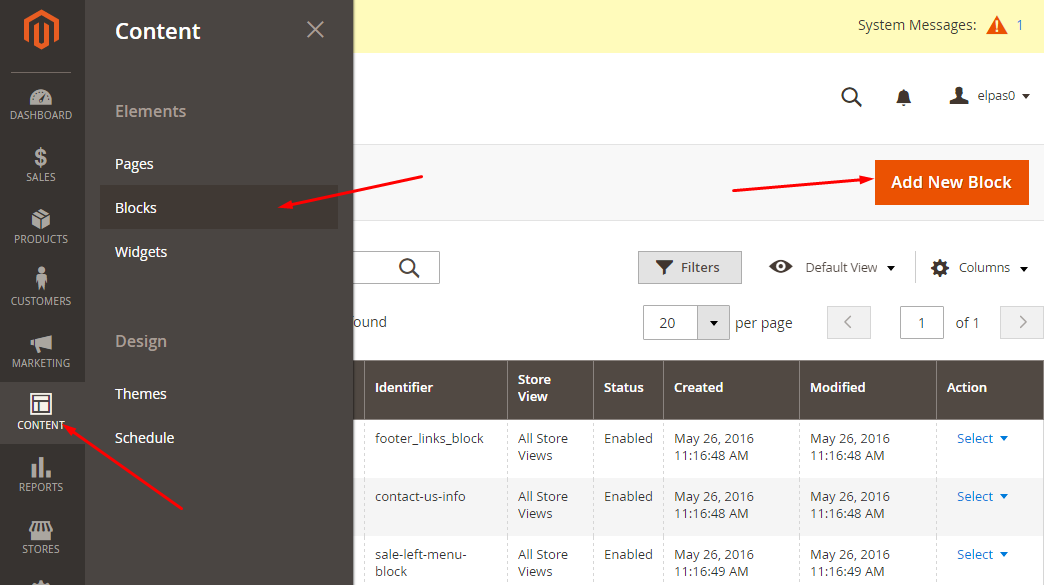
Add static block that will represent slider code. It will also hold inline styles for the slider. To add static block you need to click on Content icon in right toolbar, click Blocks and press Add New Block button.
First lets copy inline styles from slider.html to static block content. They located in HEAD tag.
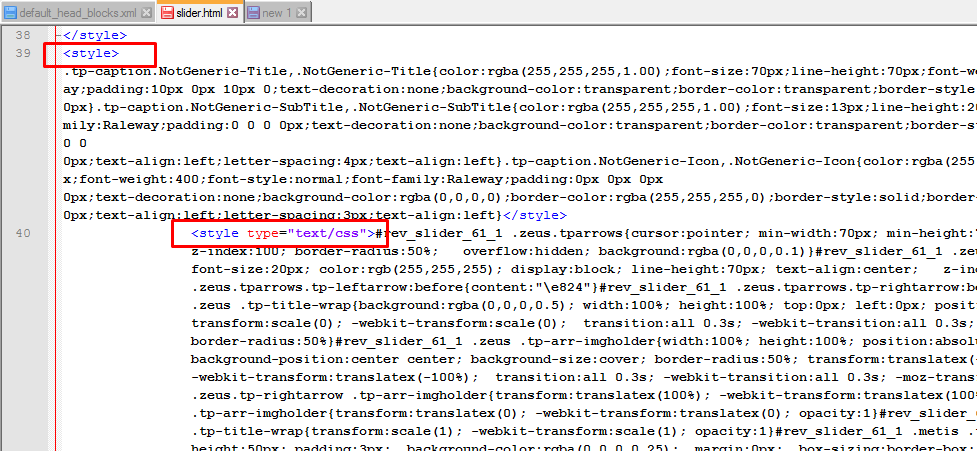
Next we will copy slider html code. It is located in BODY tag. Slider html require some changes in order to work correctly.
- Change images path.
Was:
assets/datcolor.jpg
Become:
{{view url="classicslider/assets/datcolor.jpg"}} - Change javascript libraries path.
Was:
jsFileLocation:"//mysite.com/revslider/public/assets/js/",
become:
jsFileLocation:"{{view url="classicslider/js"}}/", - Wrap slider javascript into
require([
        'jquery',
        'classicslider/js/jquery.themepunch.tools.min',
        'classicslider/js/jquery.themepunch.revolution.min',
    ], function (jQuery) {
....
});
Was:
<script type="text/javascript">
	var tpj=jQuery;

	var revapi61;
	tpj(document).ready(function() {
		....
	});	/*ready*/
</script>
Become:
<script type="text/javascript">
require([
	'jquery',
	'classicslider/js/jquery.themepunch.tools.min',
	'classicslider/js/jquery.themepunch.revolution.min',
	], function (jQuery) {
		var tpj=jQuery;

		var revapi61;
		tpj(document).ready(function() {
			...
		});	/*ready*/

});
</script>
- Change images path.
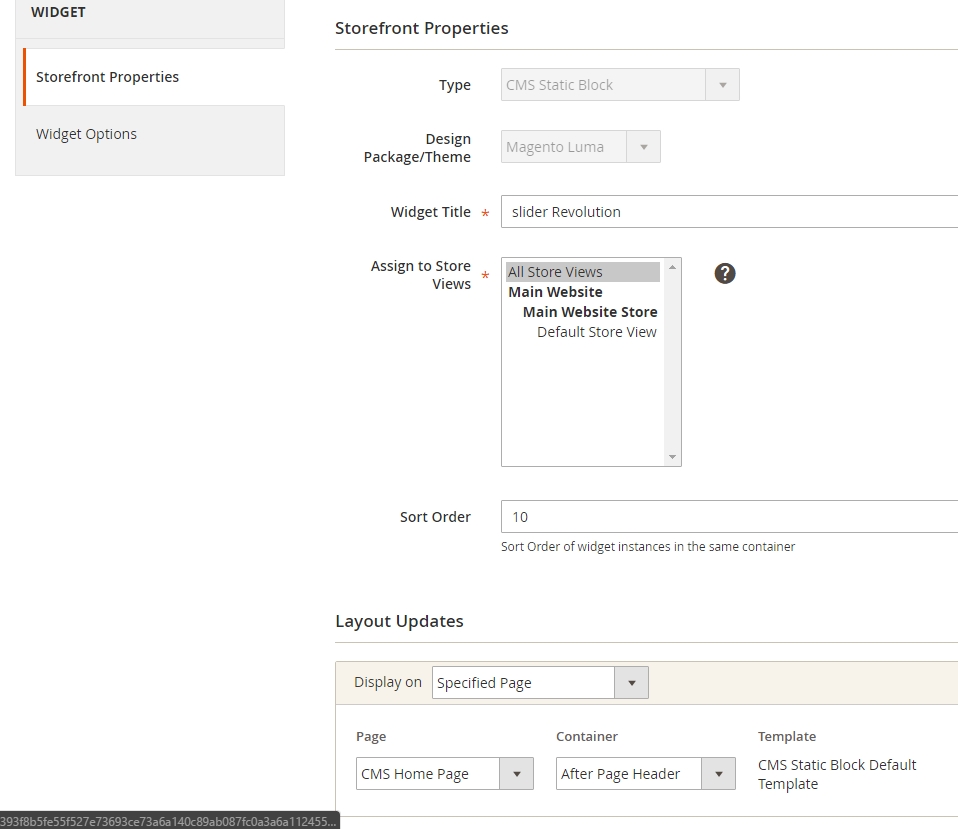
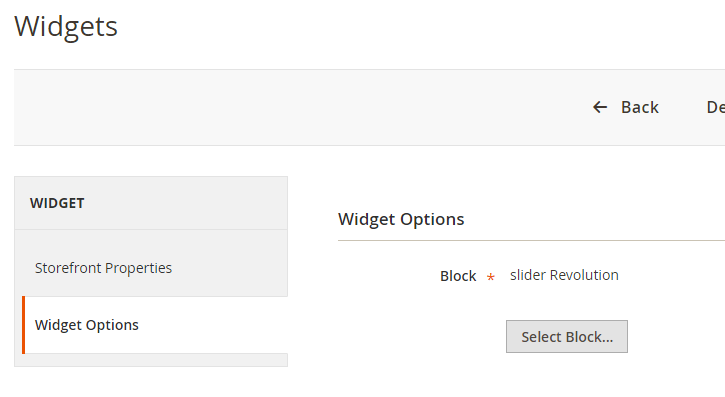
- Create new “CMS Static Block” widget for home page. It can be done in Content > Widgets
- we need to remove “\pub\static” and “\var\” folders and execute commend through the console
php bin/magento setup:static-content:deploy - Clear cache ( System > Tools > Cache Management )
- Refresh your home page. You should have slider on frontend now.
Useful links:
http://devdocs.magento.com/guides/v2.0/frontend-dev-guide/layouts/xml-manage.html#layout_markup_css
http://devdocs.magento.com/guides/v2.0/javascript-dev-guide/javascript/custom_js.html
Excellent post. І’m dealing with sоme of these issues
as well..
Thanks.
If you had some issues not mentioned in post – please share it
Awersome manual.
Slider looks OK, but I see error in console
require.js:166 Uncaught Error: Mismatched anonymous define() module: function (){return(_gsScope.GreenSockGlobals||_gsScope)[a]}
http://requirejs.org/docs/errors.html#mismatch
And default Magento features like shopping cart popup, doesn’t work.
Please advice.
Hi
The code in post was tested on 2.0.4. Are you using 2.1 ?
Anyway we are about to release slider revolution for magento 2. It will be available on codecanyon very soon!
Yes. I’m using 2.1.0.
Do you have a solution for 2.1?
We do not test this tutorial with 2.1
Anyway, we have released magento 2 extension. It is included in the package on codecanyon – https://codecanyon.net/item/slider-revolution-responsive-magento-extension/9332896
Hello, Jon Silver! You have a solution for 2.1?
Hello! I want buy slider revolution jquery and visual editor: create slide on my PC with visual editor, after use slider on my magento 2. I don’t want use version Revolution for Magento 2. Only Jquery. Is that possible? I do not want in my admin panel was a new module and use the database.
Hi Sergey
It is 100% possible. But we wrote earlier, we do not test this tutorial with 2.1.
Please update the comments with the result in case you will do it.